Product Photography: Craft a Perfect Setup in 2024

When it comes to selling products online, presentation is key. One of the most effective ways to enhance your store’s appeal is through high-quality product photography. Beautiful, professional-looking images can significantly boost your online store’s visual appeal and help you stand out in a crowded market.
While investing in a professional photography studio is ideal, it’s not always feasible for new or small businesses. Fortunately, DIY product photography offers an excellent alternative. With the right tools and techniques, you can create compelling product photos that rival professional shots—all without breaking the bank.
Essential equipment for product photography
High-quality ecommerce photography in your online store can be the difference between making a sale and losing a customer. This guide is designed specifically for budget-conscious business owners, offering simple yet effective techniques to produce professional-grade product photos that drive results.
Let’s explore the key items you’ll need to set up your own product photography studio:
Camera
The camera you choose plays a crucial role in the quality of your product images. While high-end DSLRs like the Nikon D850 ($1,800) with a 105 mm f/1.4 lens ($740) can produce stunning results, they’re not necessary for most small businesses. In fact, you can achieve great results with your smartphone—check out our guide to smartphone product photography for tips.
Start with whatever camera you have available and assess the results. Remember, the camera is just one piece of the puzzle. Great product photography is the result of thoughtful lighting, exposure, styling, and post-processing decisions.
Tripod
A tripod is a three-legged stand that supports and stabilizes your camera. It’s crucial for product photography, ensuring consistent framing and composition across multiple shots.
Tripods are particularly useful when shooting with slow shutter speeds, which are often necessary when using small apertures to achieve greater depth of field. They’re simple to use: set up on a stable surface, attach your camera, and adjust the legs and head to experiment with different heights and angles.
For beginners, an affordable tripod is perfectly adequate. Many quality options are available for less than $30.
White background
A clean white background and proper light control are fundamental for professional-looking product photos.
There are numerous options for white backgrounds. If you’ll be shooting frequently, consider investing in a white sweep. Paper sweeps are particularly useful, as you can easily cut off dirty sections and roll down fresh material.
For a budget-friendly option, visit your local art or drug store and purchase poster board—often available for as little as $7 for 10 sheets. Opt for pure white, as off-white or cream backgrounds are more challenging to edit to pure white in post-processing.
Table
A good table allows you to easily adjust the background, lighting, and products for various setups.
Standard folding tables work perfectly for product photography. Aim for a width between 24 and 27 inches, providing ample space for most product setups without being overly large.
Cover the table with your chosen background material, allowing it to curve up against a wall or backdrop stand for a seamless look. Ensure you can work comfortably, whether standing or sitting. The table doesn’t need to be aesthetically pleasing, since it will be covered—focus on stability and appropriate size.
Tape
Securing your setup is crucial for consistent shots. Tape is an excellent tool for holding your background in place.
To avoid damaging your table, use strong, removable tape like painter’s tape or gaffer’s tape. Secure the edges of your background material (such as poster board or seamless paper) to the table, ensuring it’s taut and wrinkle-free as it curves up against the wall or backdrop stand.
Lenses
Your choice of lens significantly impacts the overall quality of your product photos. Consider your product size and shooting environment when selecting a lens.
While lenses can be a significant investment, aim for versatility. A standard zoom lens allows you to shoot both larger products and smaller details. Two popular options are:
- 24–70 mm f/2.8: Versatile for close-ups and wider shots, with an f/2.8 aperture for low-light situations.
- 50 mm f/1.8: This prime lens matches the human eye’s focal length, and its wide aperture suits various environments.
Experiment with different focal lengths to find what works for your products. Choose a lens that clearly and attractively showcases your product’s key features.
Lightbox
Lightboxes are excellent for product photography, creating even lighting and minimizing shadows for a professional look. They’re particularly useful for small to medium-sized products.
Using a lightbox is straightforward: place your product inside on the white background. If your lightbox has built-in lights, turn them on and adjust for even illumination. For more control, consider using external light sources.
Props
Props can help tell your product’s story by setting the mood, showing scale, or demonstrating use. However, it’s crucial to strike a balance—props should enhance, not overshadow, your product.
For example, when photographing a coffee mug, you might include coffee beans, a book, or a pastry to create a cozy scene. Arrange props naturally around the product, ensuring they don’t obscure key features.
Consider color when choosing props to avoid clashing with your product. Take test shots and adjust your arrangement as needed to create a balanced, inviting image.
Optimal lighting conditions
Natural light is ideal for photography, whether indoors or outdoors. When shooting indoors, a room with large windows adjacent to a wall provides excellent lighting.
Outdoors, open areas or tree-shaded spots can offer great lighting. However, controlling outdoor lighting can be challenging and may require additional tools like diffusers or reflectors.
Remember, distance from the light source affects your results: closer proximity creates softer light with darker, softer shadows, while greater distance produces lighter, sharper light.
Finding the perfect lighting setup for your product photos is essential to achieving the desired look. Here’s how you can manipulate light to create professional product photos:
- Experiment with different lighting setups
- Adjust your camera settings
- Utilize reflectors for optimal lighting
- Take test shots and evaluate the results
By mastering the art of manipulating light, you can enhance the visual appeal of your products and attract more customers. Follow these steps to create stunning product photos that showcase your offerings in the best possible light.
Find the HTML container size
- Inspect the image element using your browser’s Developer tools.
- Right-click on the image and select “Inspect Element.”
- The sidebar will display the container’s pixel dimensions.
Pro tip: Resize your image to 1.5 times the container size for retina screens. For a 684-pixel container, aim for a 1026-pixel-square image.
Resize the image
Utilize tools like Mac Preview or Microsoft Picture for easy resizing.
- Open your image in the application.
- Adjust the dimensions to fit your container size.
- Export and save the image as a JPEG at 100% quality.
Compress the image
After resizing, if the file size is still large, smart compression can help remove unnecessary data without compromising quality.
- Use tools like Photoshop’s Save For Web function or specialized software such as JPEGmini.
- These tools utilize algorithms to determine optimal compression levels.
- Avoid excessive compression that may result in distorted images.
Recommendations:
- Image size: ~1 to 1.5 times the HTML container size
- Format: JPEG
- Colorspace: sRGB
- Compression: Use JPEGmini or similar tool post-export
Product Photography: A Path to Increased Sales and Success
Mastering the art of product photography can significantly boost sales and conversions on your website, paving the way for a thriving online business. Who knows? You might even hone your skills enough to venture into selling your own photos online one day.
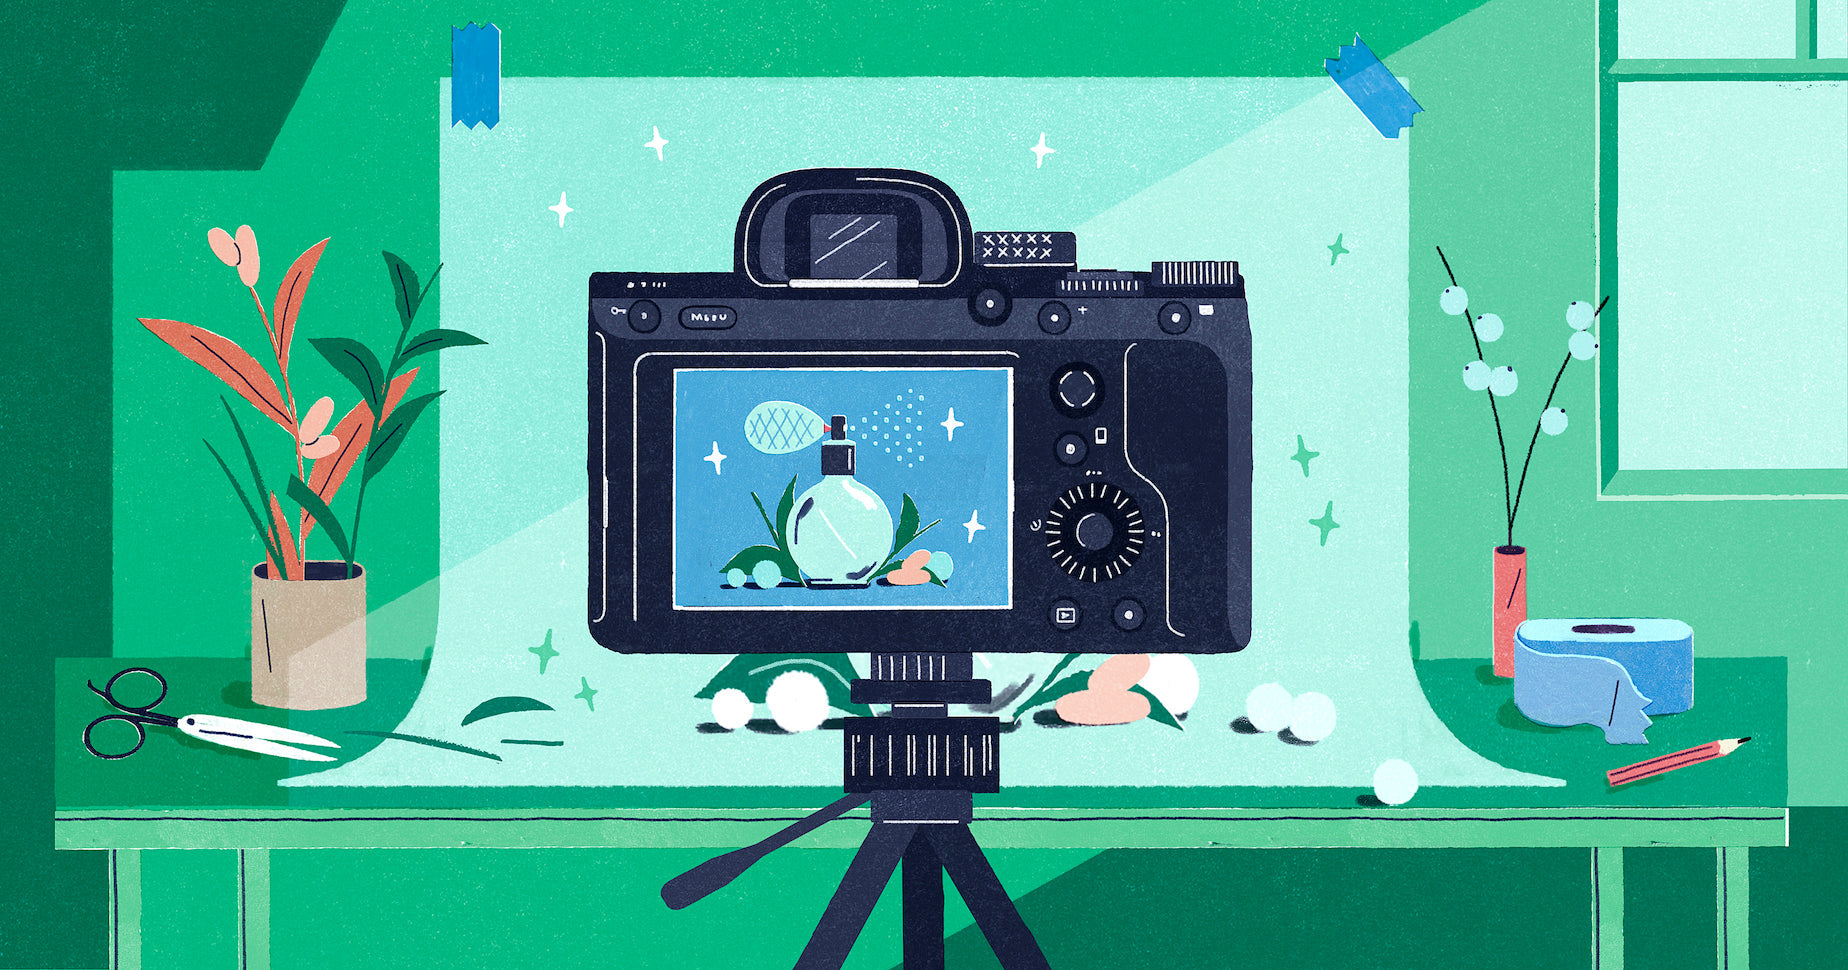
Illustration by Gracia Lam
Product photography FAQ
What is product photography?
Product photography involves using specific techniques to capture accurate and attractive photos of your products. These photos influence shoppers’ purchasing decisions, potentially increasing conversion rates and sales.
Do product photographers make money?
According to Glassdoor, product photographers’ salaries range from $48,000 to $90,000 per year. However, income can vary based on factors like experience, clientele, and market demand. Photographers may earn through various channels, including selling photos online, freelancing, or running their own business.
What is the best type of camera for product photography?
DSLR or mirrorless cameras with full-frame sensors are often ideal for product photography. They offer excellent image quality, versatility, and control.
What do you need for a product photography setup?
- Camera
- Tripod
- White background
- White bounce cards
- Table
- Tape
- A room with suitable window lighting
How can I shoot product photography at home?
- Invest in essential gear and equipment.
- Set up your product photography studio.
- Take your product shots.
- Use white bounce cards for light control.
- Edit your photos using online tools.
- Add the finished images to your website.
How do you shoot product photos?
- Set up your table.
- Create your sweep (background).
- Adjust your camera settings.
- Position your product.
- Set up the reflector card.
- Take the picture and evaluate the results.
- Retouch your pictures as needed.
- Optimize images for your website.
message in a more concise manner:
Please let me know if you are available to meet tomorrow at 10 am.

